MY DIGIPAK
With the help of Photoshop I prepared everything i felt i was going to need to make my digipak before hand to help things run smooth and quick. I added effects to the photos I planned on using (which I have already explained in my previous blog). I then created my background by opening up a new file, setting the width and height to 1000 by 1000 pixels and setting the background contents to white. I was unsure about what size my panel was in quark so I chose to be safe by making my background really big because I knew I could always drag it and make it smaller in quark. I then clicked on the paint bucket tool and choose the colour I wanted my background to be then I saved it.
With the help of Photoshop I prepared everything i felt i was going to need to make my digipak before hand to help things run smooth and quick. I added effects to the photos I planned on using (which I have already explained in my previous blog). I then created my background by opening up a new file, setting the width and height to 1000 by 1000 pixels and setting the background contents to white. I was unsure about what size my panel was in quark so I chose to be safe by making my background really big because I knew I could always drag it and make it smaller in quark. I then clicked on the paint bucket tool and choose the colour I wanted my background to be then I saved it.
 |
| I then created my background by opening up a new file. |
 |
| setting the width and height to 1000 by 1000 pixels and setting the background contents to white. I was unsure about what size my panel was in quark so I chose to be safe by making my background really big because I knew I could always drag it and make it smaller in quark. |
 |
| tool bar |
<>
 |
I then clicked on the paint bucket tool and choose the colour I wanted my background to be. |
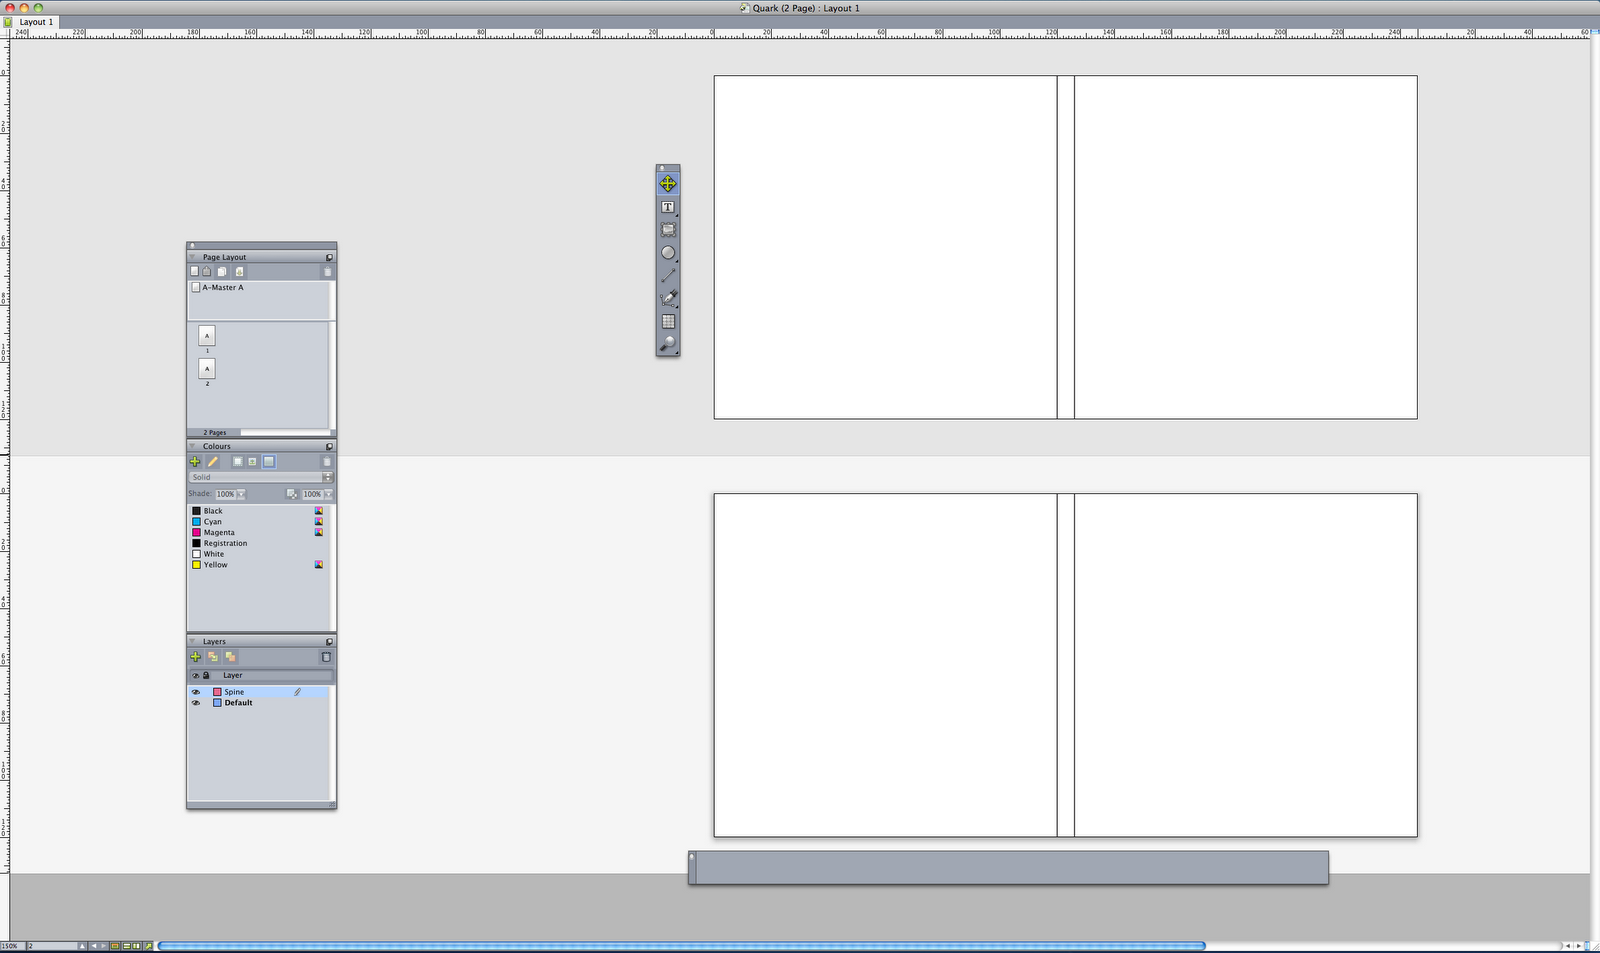 |
| I opened up a 2page template in quark. |
 |
| Then I used the picture box tool to draw a picture box in the panel where I wanted my image then I clicked on file then import chose my desired image (which was the background I had previously made in Photoshop). |
 |
| I then had to drag it to fit both panels. |
 |
| Heres the result |
 |
| I had my background set now need my front cover image, so I selected the picture box tool again, Drew the picture box acurately using the square box below as a template. |
 |
| file then import selected my desired image |
 |
| then while holding the shift key dragged in the image(in order for all parts of the picture to be dragged equally, so the picture didn’t appear stretched or squashed) to fit the box. This is the reason I had previously set the background of all my photos I planned on using to transparent. (I repeated this process for every photo in my digipak). |
 |
| After that was done, I went back in to Photoshop to create my track list. I opened up a transparent background and selected the text tool |
 |
| and font size |
 |
| and type of font |
 |
| then typed out my track list |
 |
| selected the 10th tool from the top in the tool bar which is the crop tool. |
 |
| Then clicked on file then save as to save my new image |
Then went back to quark
 |
| selected the picture box tool again then drew a picture box tool |
 then file, import and selected my text file from Photoshop which I had just made  |
| then while holding the shift key dragged in the text image (in order for all parts of the text to be dragged equally, so the text didn’t appear stretched or squashed) to fit the box.(I repeated this process for every text in my digipak that has colour added to it) I chose to do my text in Photoshop rather than quark because in quark I couldn’t fill my text with colour. |
 |
| As for the little images below (Barcode, Parlophone, EMI,Sony) i got them off the internet saved them onto the desktop and whenever i wanted them i clicked on the picture content tool drew a picture box clicked on file then import and chose the picture i wanted from the desktop. Most of the time when i imported them they were large so i had to hold down the shift key while dragging in the edges to make them smaller. As for the little writings at the bottom and side i clicked on the text content tool drew the text box, chose my font in the tool box and typed. For the other half i repeated the same process |
 |
| Rather than having the picture box fill the bottom rectangle i drew it to fit one half then imported my background and resized it and then repeated this process for the other half, this is why i am left with a white space in the middle of both squares. I used the little white space as a template for the two panels above. Basically i clicked the picture content tool then drew on the white to make sure my new rectangle was the accurate size then i clicked the item tool and draged the new rectangle from the bottom to the top two panels. Here is the result |

No comments:
Post a Comment